目录
css实现图像填充文字
效果图:

代码:
<!DOCTYPE html>
<html>
    <head>
        <meta charset="utf-8">
        <title>CSS图像填充文字</title>
        <style>
            .text {
                background-image: url(./imgs/1.webp);
                /* 一定要让背景透明,这样后面的背景能透出来 */
                color: transparent;
                font-size: 50px;
                text-align: center;
                /* 以 盒子内 文字 作为 裁剪区域 ,向外 裁剪,文字之外 的 区域 都将 被 裁剪掉 */
                -webkit-background-clip: text;
                /* 这行代码是为了不让vscode报警告 */
                background-clip: text;
            }
        </style>
    </head>
    <body>
        <div class="text">
            <h3>CSS</h3>
            <p>CSS图像填充文字</p>
        </div>
    </body>
</html>
css实现手风琴效果
效果图:

代码:
<!DOCTYPE html>
<html lang="en">

<head>
    <meta charset="UTF-8">
    <meta http-equiv="X-UA-Compatible" content="IE=edge">
    <meta name="viewport" content="width=device-width, initial-scale=1.0">
    <title>Document</title>
    <style>
        .kodfun-galeri {
            display: flex;
            width: 500px;
            height: 20rem;
            /* 设置网格行与列之间的间隙 */
            gap: 1rem;
            margin: 50px auto;
        }

        .kodfun-galeri>div {
            flex: 1;
            /* 圆角 */
            border-radius: 1rem;
            /* 背景位置,可以接收两个值 x 和 y。只写一个,则表示x的值,y的值就为center */
            background-position: center;
            /* 背景是否平铺 */
            background-repeat: no-repeat;
            /* 背景图尺寸,宽auto自动,高100% */
            background-size: auto 100%;
            /* background-size: cover; */
            /* 过渡效果,因为鼠标经过,div标签flex占的份数有变化,所以过渡要写到div的css属性里 */
            transition: all .8s cubic-bezier(.25, .4, .45, 1.4);
            cursor: pointer;
        }

        /* 核心:鼠标经过,改变div占的flex份数 */
        .kodfun-galeri>div:hover {
            flex: 5;
        }
    </style>
</head>

<body>
    <div class="kodfun-galeri">
        <div style="background-image: url('./images/0.png');"></div>
        <div style="background-image: url('./images/1.png');"></div>
        <div style="background-image: url('./images/2.png');"></div>
        <div style="background-image: url('./images/6.png');"></div>
        <div style="background-image: url('./images/8.png');"></div>
    </div>
</body>

</html>
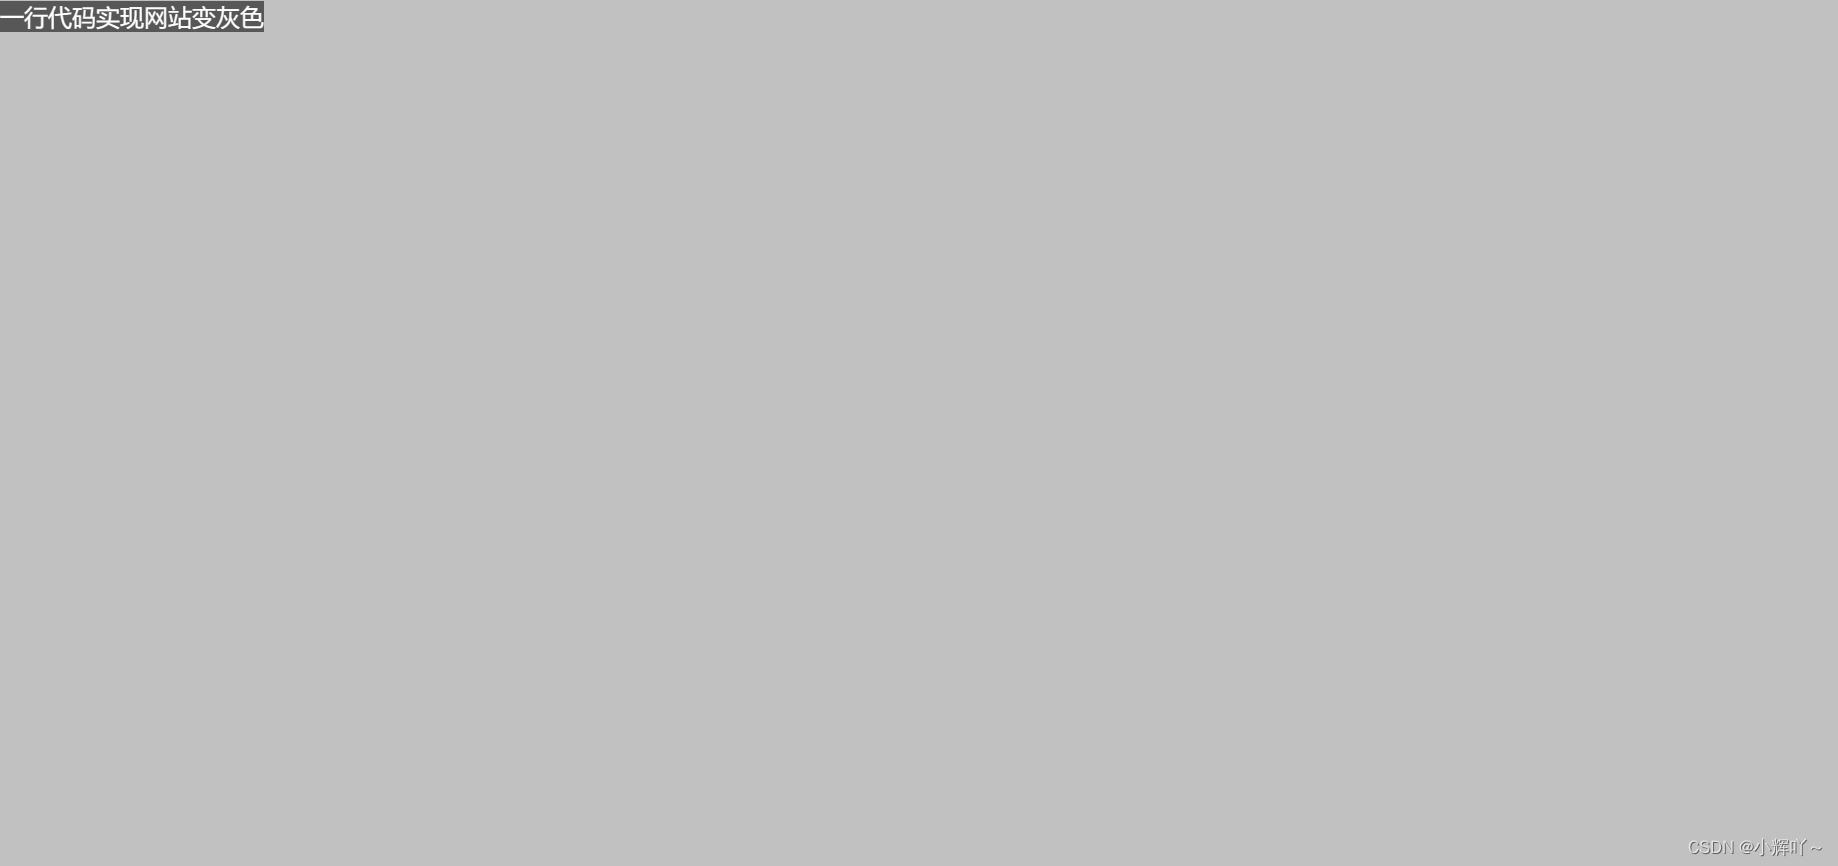
css实现网站变灰色
效果图:

代码:(给html添加 filter: grayscale(1) 即可)
<!DOCTYPE html>
<html lang="en" style="filter: grayscale(1)">
<head>
    <meta charset="UTF-8">
    <meta name="viewport" content="width=device-width, initial-scale=1.0">
    <title>Document</title>
    <style>
        * {
            padding: 0;
            margin: 0;
            box-sizing: border-box;
        }

        html,body {
            width: 100%;
            height: 100%;
        }

        .box {
            width: 100%;
            height: 100%;
            background-color: skyblue;
        }
    </style>
</head>
<body>
    <div class="box">一行代码实现网站变灰色</div>
</body>
</html>
elementUi的导航栏效果
效果图:

代码:
<!DOCTYPE html>
<html lang="en">

<head>
    <meta charset="UTF-8">
    <meta name="viewport" content="width=device-width, initial-scale=1.0">
    <title>Document</title>
    <style>
        * {
            padding: 0;
            margin: 0;
            box-sizing: border-box;
        }

        html,
        body {
            width: 100%;
            height: 100%;
        }

        header {
            position: fixed;
            top: 0;
            width: 100%;
            height: 60px;
            /* background-color: pink; */
            /* 径向渐变 */
            background-image: radial-gradient(transparent 1px,#fff 1px);
            /* 背景缩放 */
            background-size: 4px 4px;
            /* 元素后面区域添加  饱和度 和 模糊效果 */
            backdrop-filter: saturate(50%) blur(4px);
        }

        main {
            height: 200vh;
            margin-top: 60px;
            background-color: skyblue;
            text-align: center;
        }
    </style>
</head>

<body>
    <header>头部</header>
    <main>内容部分</main>
</body>

</html>
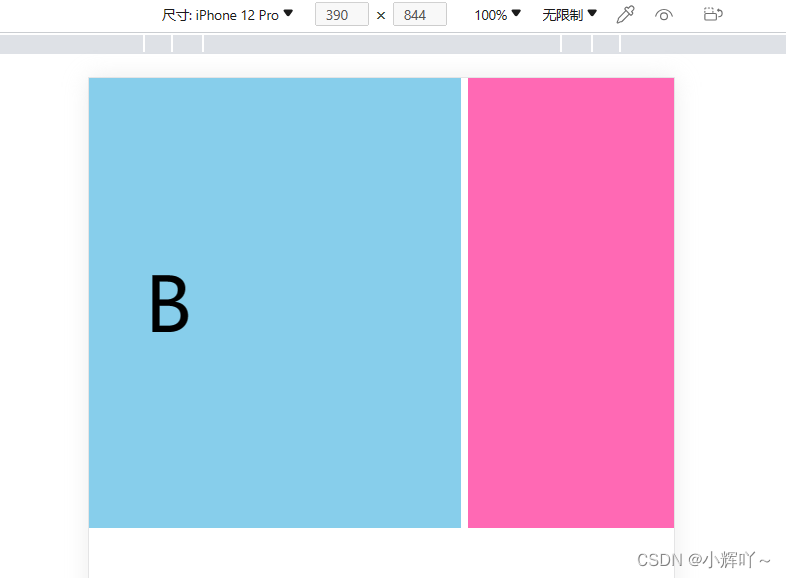
css实现滚动吸附效果
效果图:

超过一半,会自动吸附过去
代码:
<!DOCTYPE html>
<html lang="en">

<head>
    <meta charset="UTF-8">
    <meta name="viewport" content="width=device-width, initial-scale=1.0">
    <title>Document</title>
    <style>
        * {
            padding: 0;
            margin: 0;
            box-sizing: border-box;
        }

        html,
        body {
            width: 100%;
            height: 100%;
        }

        li {
            list-style: none;
        }

        .box ul {
            /* 防止换行 */
            white-space: nowrap;
            /* 设置水平媳妇效果 两个参数,第一个参数设置x轴或者y轴,第二个参数设置吸附方式 */
            scroll-snap-type: x mandatory;
            /* scroll-behavior: smooth; */
            /* 启用水平滚动条 */
            overflow-x: scroll;
        }

        .box ul li {
            /* 设置为行内块元素,让li一行显示 */
            display: inline-block;
            width: 100vw;
            line-height: 300px;
            text-align: center;
            background-color: pink;
            font-size: 50px;
            /* 设置吸附位置,去只有 start center end */
            scroll-snap-align: start;
            /* scroll-snap-stop: always; */
        }

        .box ul li:nth-child(2) {
            background-color: skyblue;
        }

        .box ul li:nth-child(3) {
            background-color: hotpink;
        }
    </style>
</head>

<body>
    <div class="box">
        <ul>
            <li>A</li>
            <li>B</li>
            <li>C</li>
        </ul>
    </div>
</body>

</html>
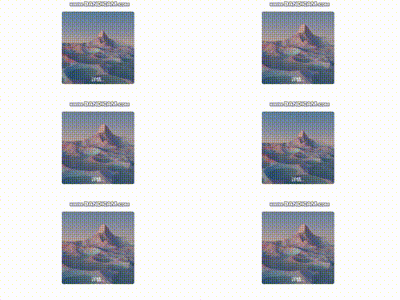
鼠标经过,元素内部放大
效果图:

代码:
<!DOCTYPE html>
<html lang="en">

<head>
    <meta charset="UTF-8">
    <meta name="viewport" content="width=device-width, initial-scale=1.0">
    <title>Document</title>
    <style>
        * {
            padding: 0;
            margin: 0;
            box-sizing: border-box;
        }

        html,
        body {
            width: 100%;
            height: 100%;
        }

        .box {
            position: relative;
            overflow: hidden;
            width: 200px;
            height: 200px;
            margin: 50px auto;
            cursor: pointer;
            border: 1px solid #ccc;
            border-radius: 5px;
        }

        .box>img {
            width: 100%;
            height: 100%;
            /* 因为是图片放大,所以过渡需要给图片添加 */
            transition: all .3s;
        }

        .box>span {
            position: absolute;
            bottom: 5px;
            left: 50%;
            transform: translateX(-50%);
            color: #fff;
            font-size: 13px;
        }

        .box:hover>img{
            transform: scale(1.4);
        }
    </style>
</head>

<body>
    <div class="box">
        <img src="./imgs/1.jpg" alt="">
        <span>详情...</span>
    </div>
</body>

</html>
附图:

原文链接:https://blog.csdn.net/qq_52845451/article/details/132201838

此处评论已关闭